Author :
Vaibhav Parab
Step 1: Create an account on Amazon Web Services and login as root user. Note that initially it will be free but depending upon the service usage, it might charge you.
Once the account is created, we go to the services tab and click on “EC2 instance”.
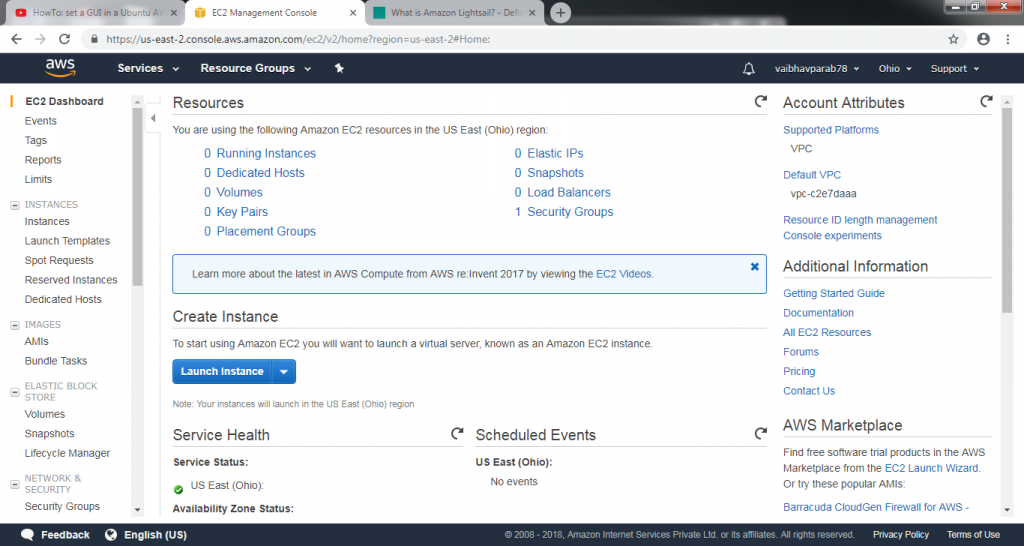
We create a new instance by following steps.
Step 2.1 : Choose an AMI (Amazon Machine Image) Ubuntu Server 18.04 LTS, 64 bit.
 Step 2.2
 : Choose an Instance Type. Here we choose the configuration of our server depending on our usage. Various charges are applicable depending on the variety. For demonstration purpose we use a free version.
 Step 2.3
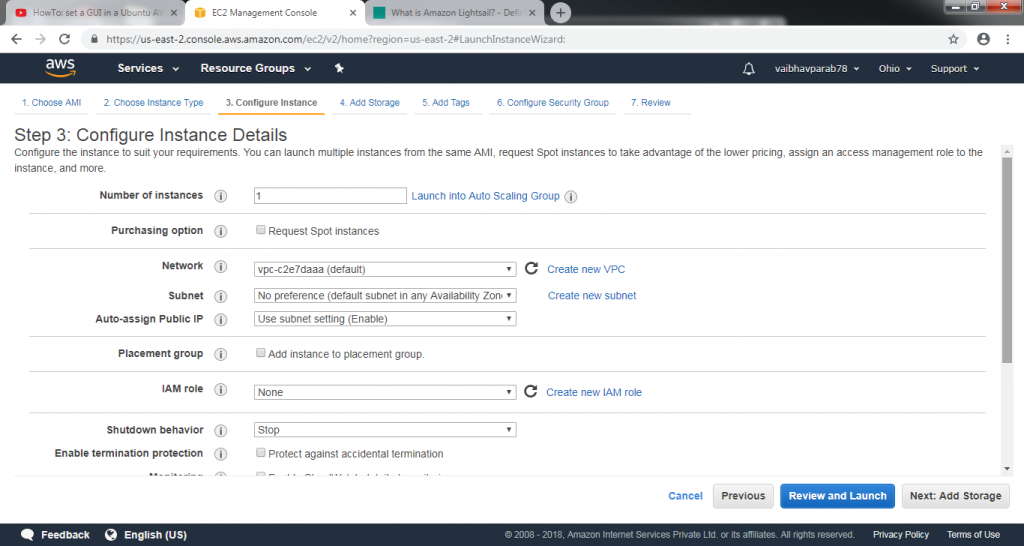
 : Configure Instance Details. This gives you the opportunity to have more control and customized instance
 Step 2.4
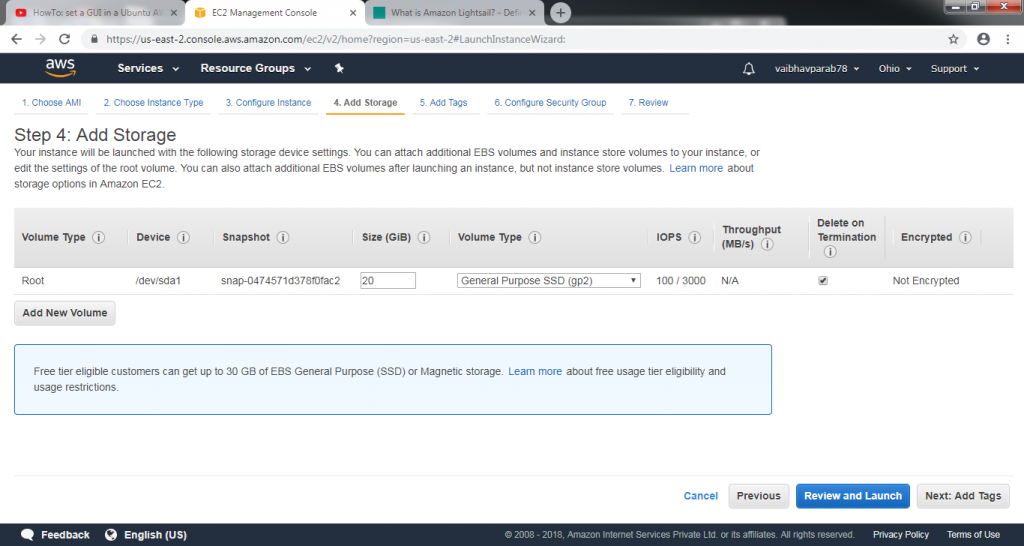
 : Add Storage. Depending upon the storage requirements we mention the value in GB.
 Step 2.5
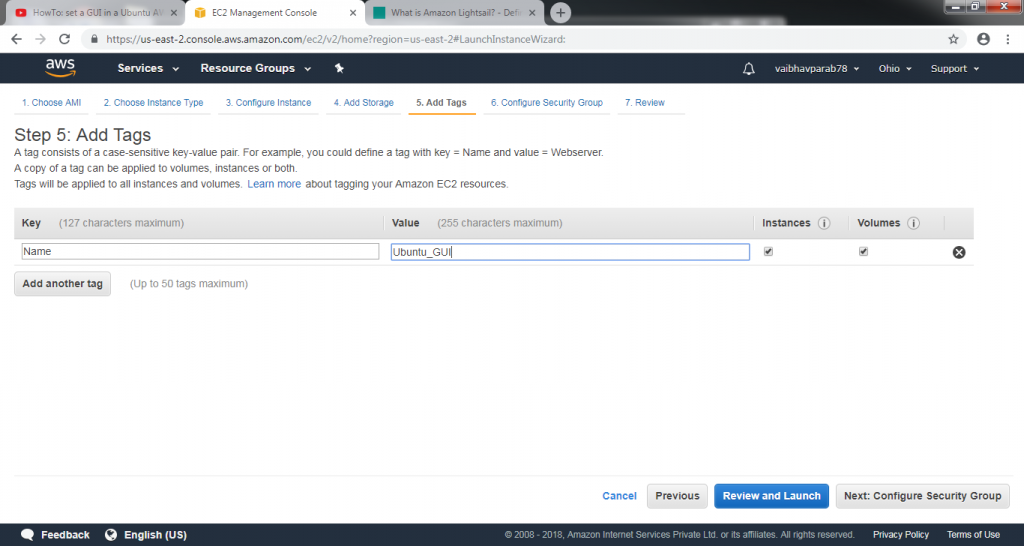
 : Add tags. You can add tags to your creating instance and keys. Its o if we don’t unless we are not using multiple instances simultaneously.
 Step 2.6
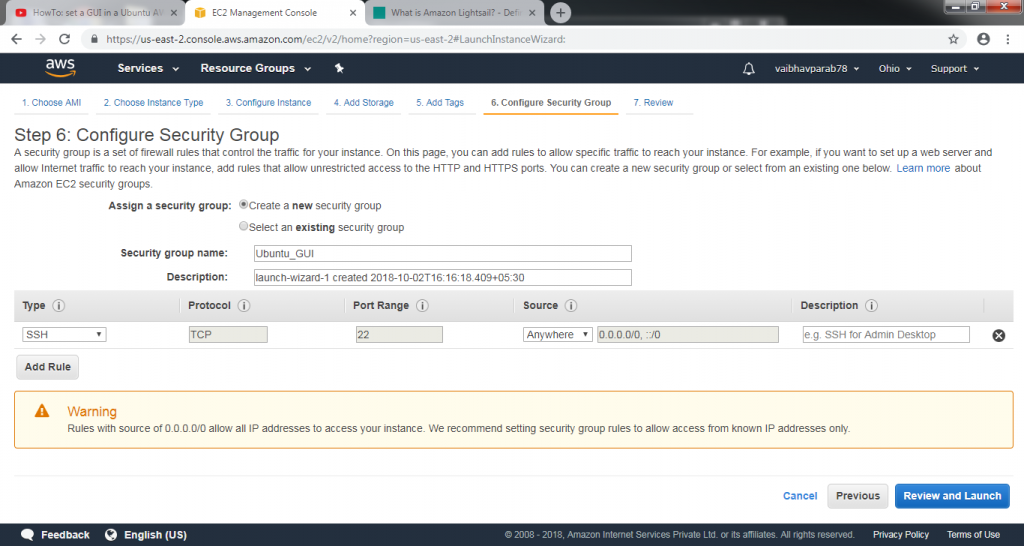
 : Configure Security Group. Here, we can specify that what security should be followed and which specific or all ports the instance should respond to. This is a healthy practice to perform since your instance will be accessed by a number of people.
Once we are done setting up the instance configuration then we go to review and launch to launch the instance. It might take 5-8 minutes depending on your internet connection and machine processing power.
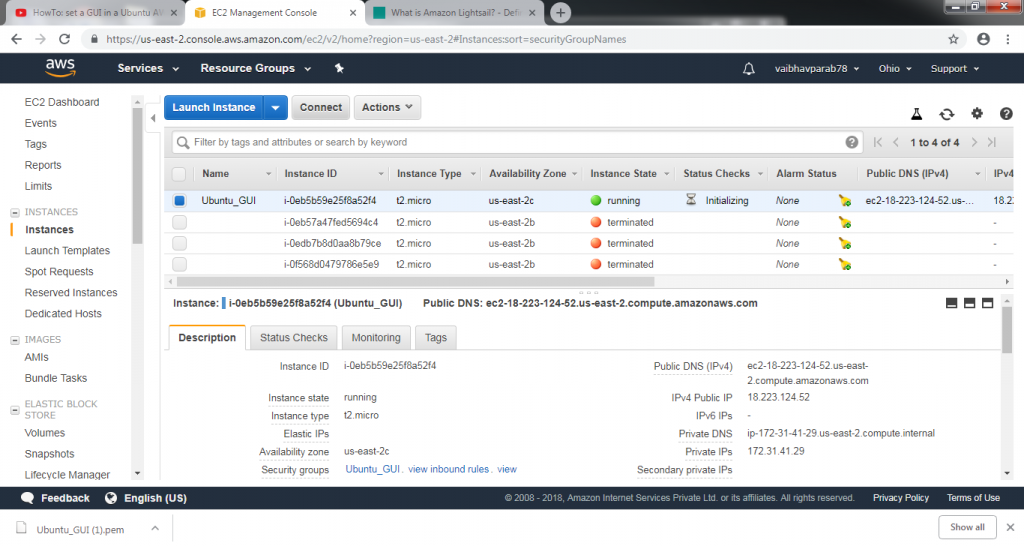
Once the instance is created we simply select that particular instance and hit the connect button. This will ask for a key generation or a key-pair of you have it already.
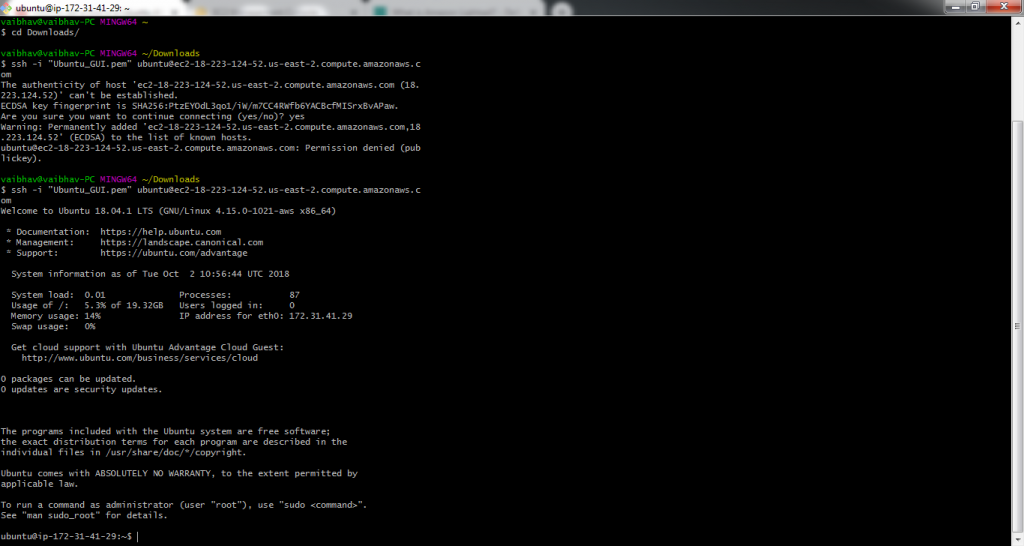
A key-pair is a .pem file which is used to connect to your instance and justify your authenticity. It is an encrypted file and must be kept safe for future use.
If you don’t have a key-pair then you can easily create it and store it in your PC/Laptop.
After hitting the connect button it will prompt a sample screen showing a string to write on your terminal.
You can use any terminal as we are going to use gitBash here.
Step 3 : Open Bash Git for connection purpose.
(this is a sample and your string will differ depending on your naming convention and instance.)
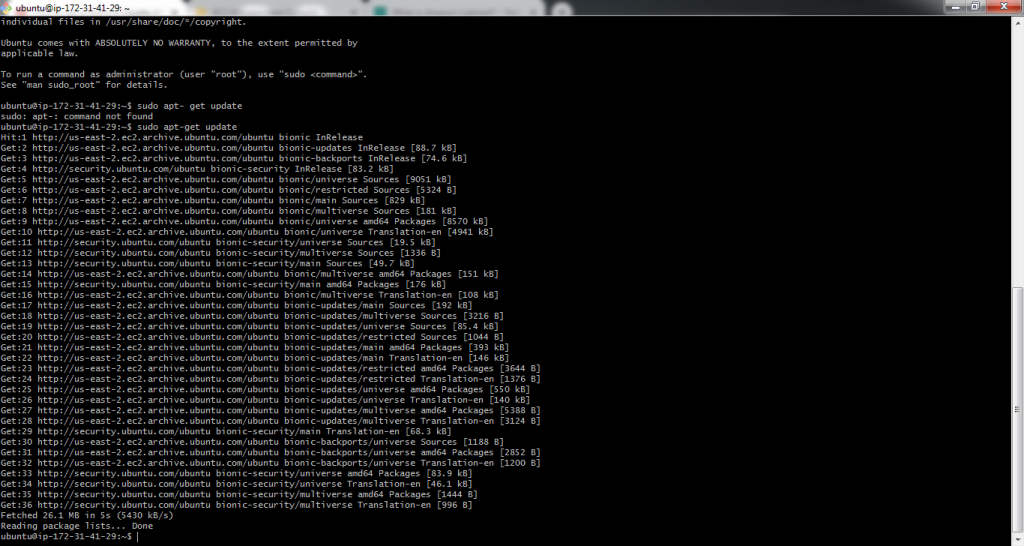
Step 4 : Then run this series of commands
- sudo apt-get update
- sudo apt-get install ubuntu-desktop vnc4server gnome-panel gnome-settings-daemon metacity nautilus gnome-terminal
- vncserver (This will ask you to set a password which we will be using later which launching vncserver.)
- vncserver –kill :1 (We intend to do this because we have to edit the xstartup file.)
- cd .vnc
- sudo vim xstartup (This will open a file which we have to edit. We comment all the statements present there and replace with the below code.)
export XKL_XMODMAP_DISABLE=1
unset SESSION_MANAGER
unset DBUS_SESSION_BUS_ADDRESS
[ -x /etc/vnc/xstartup ] && exec /etc/vnc/xstartup
[ -r $HOME/.Xresources ] && xrdb $HOME/.Xresources
xsetroot -solid grey
vncconfig -iconic &
gnome-panel &
gnome-settings-daemon &
metacity &
nautilus &
gnome-terminal &
Use ctrl + C to save the changes. We come out of it by :wq command.
Type exit command and reconnect to the server with the same string but with few changes.
Example:
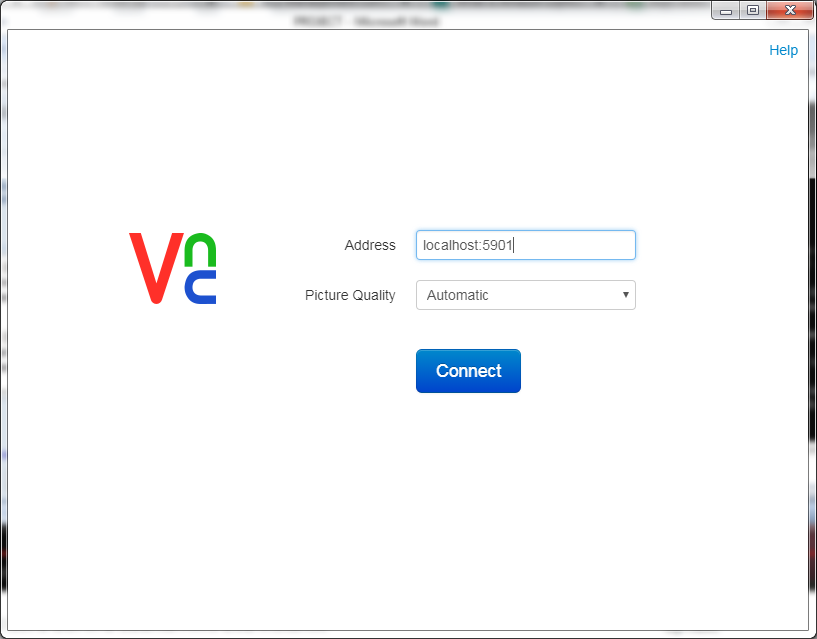
Step 5: Goto Chrome and get vncviewer extension downloaded and then type address as localhost and password with the one which you created initially during the start of vncserver configuration.
Done.!!! You have achieved your goal.!
Now try out some features of it and play around with it.
For more assistance you can watch this video on
Youtube